Create the react element with JSX and Implement Click event in React App
In previous article we discussed how to create react app from scratch and we also discussed about the project structure of the react app.In this article i will be discussing about the how to create the react element with JSX and how to implement Click event in React App.
Create the react element with JSX:
In app.js file i will remove the default code returned in the App() method and add the following code.
App.Js
 import logo from './logo.svg';
 import './App.css';
 function App() {
  return (
    <span>Hello world!</span>
  )
 }
 export default App;
then run the below command:
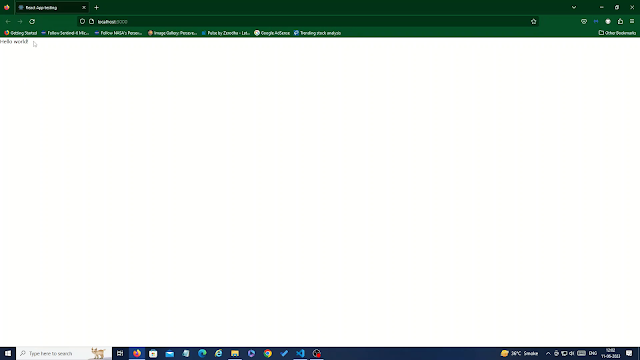
npm start You will get the below output in browser.
now i try to add another span then the below error will be shown in VS Code:
this error is because in react you should have one parent element and under that you can have unlimited child elements. So you need to add the parent div element under that you can add both the span like below example
 import logo from './logo.svg';
 import './App.css';
 function App() {
  return (
    <div>
    <span>Hello world!</span>
    <span>Hello world!</span>
    </div>
  )
 }
 export default App;
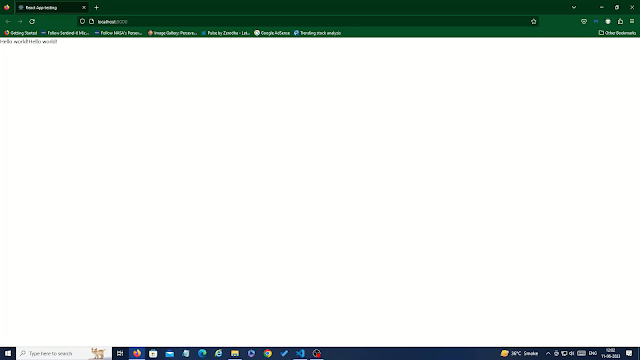
Following will be the output of the above code change:
Now I will be adding some css classes to the app.css file and apply it to app.js file html elements as follows.
App.css:
 .App {
  text-align: center;
 }
 .App-logo {
  height: 40vmin;
  pointer-events: none;
 }
 @media (prefers-reduced-motion: no-preference) {
  .App-logo {
   animation: App-logo-spin infinite 20s linear;
  }
 }
 .App-header {
  background-color: #282c34;
  min-height: 100vh;
  display: flex;
  flex-direction: column;
  align-items: center;
  justify-content: center;
  font-size: calc(10px + 2vmin);
  color: white;
 }
 .App-link {
  color: #61dafb;
 }
 @keyframes App-logo-spin {
  from {
   transform: rotate(0deg);
  }
  to {
   transform: rotate(360deg);
  }
 }
 .Center {
  display: flex;
  align-items: center;
  flex-direction: column;
 }
 .spanBold {
  font-size: 30px;
  font-weight: bold;
 }
App.js :
 import logo from './logo.svg';
 import './App.css';
 function App() {
  return (
    <div class="Center">
    <span class="spanBold">Hello world!</span>
    <span class="spanBold">Hello world!</span>
    </div>
  )
 }
 export default App;
Following will be the output of the above code changes.
the output is showing as per the css class applied. But you also noticed the we have repeated the css class in two of span and code is not centralized now we can use the JSX template to make it centralized and mantain the code in better way for that we need to add folloing code in app.js file.
App.js :
 import logo from './logo.svg';
 import './App.css';
 function App() {
  const bolder = "spanBold";
  return (
    <div class="Center">
    <span class={bolder}>Hello world!</span>
    <span class={bolder}>Hello world!</span>
    </div>
  )
 }
 export default App;
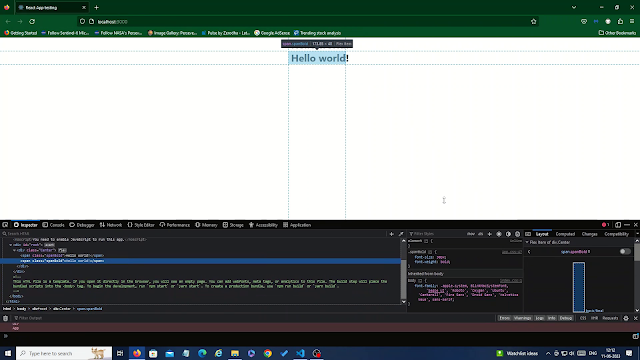
In above code you can see that i have declared one const variable and assigned the "spanBold" and i have assigned the variable to class attribute of span element in the curly bracket and you will get the same output and html output will be same as per below screenshot.
Now we will add anchor buttons to the app.js file and add some css class to the app.css file.
App.js:
 import logo from './logo.svg';
 import './App.css';
 function App() {
  const bolder = "spanBold";
  return (
    <div class="Center">
    <span class={bolder}>Hello world!</span>
    <span class={bolder}>Hello world!</span>
    <ul>
      <li>
      <a href='#' id="Heart">❤</a>
      </li>
       <li>
      <a href='#' id="Party">🎉</a>
      </li>
    </ul>
    </div>
  )
 }
 export default App;
App.css:
 .App {
  text-align: center;
 }
 .App-logo {
  height: 40vmin;
  pointer-events: none;
 }
 @media (prefers-reduced-motion: no-preference) {
  .App-logo {
   animation: App-logo-spin infinite 20s linear;
  }
 }
 .App-header {
  background-color: #282c34;
  min-height: 100vh;
  display: flex;
  flex-direction: column;
  align-items: center;
  justify-content: center;
  font-size: calc(10px + 2vmin);
  color: white;
 }
 .App-link {
  color: #61dafb;
 }
 @keyframes App-logo-spin {
  from {
   transform: rotate(0deg);
  }
  to {
   transform: rotate(360deg);
  }
 }
 .Center {
  display: flex;
  align-items: center;
  flex-direction: column;
 }
 .spanBold {
  font-size: 30px;
  font-weight: bold;
 }
 ul {
  display: flex;
 }
 li {
  list-style: none;
  padding: 0px;
  margin: 10px;
 }
 li a {
  text-decoration: none;
  font-size: 40px;
 }
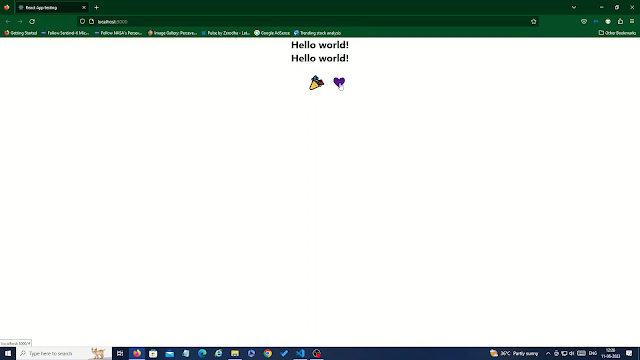
After executing above code following will be the output:
Now you can see the two button is showing in the output. In above code the li element is static and repeated now we can remove this repetition by binding li element dynamically using JSX template as per below code.
App.js
 import logo from './logo.svg';
 import './App.css';
 function App() {
  const bolder = "spanBold";
  const buttons = [
   {
    Text: "🎉",
    Id: "Party"
   },
   {
    Text: "❤",
    Id: "Heart"
   },
  ]
  return (
   <div class="Center">
    <span class={bolder}>Hello world!</span>
    <span class={bolder}>Hello world!</span>
    <ul>
     {
      buttons.map(
       button => (
        <li>
         <a href='#' id={button.Id}>{button.Text}</a>
        </li>
       )
      )
     }
    </ul>
   </div>
  )
 }
 export default App;
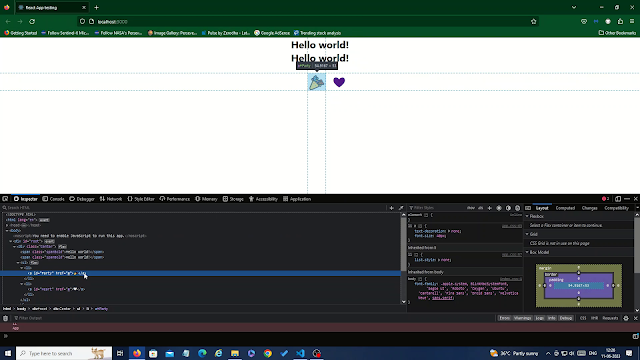
in above code we have defined one const variable which holds the JSON array data and using that const we have used map method to bind the data dynamically to li element and the output will be same as per below image where you can see that the html generated after code change is same.
Implement Click event in react app:
We can implement click event as per below code:
 import logo from './logo.svg';
 import './App.css';
 function App() {
  const bolder = "spanBold";
  const buttons = [
   {
    Text: "🎉",
    Id: "Party"
   },
   {
    Text: "❤",
    Id: "Heart"
   },
  ]
  const clickevent = event => alert(event.target.id);
  return (
   <div class="Center">
    <span class={bolder}>Hello world!</span>
    <span class={bolder}>Hello world!</span>
    <ul>
     {
      buttons.map(
       button => (
        <li>
         <a href='#' onClick={clickevent} id={button.Id}>{button.Text}</a>
        </li>
       )
      )
     }
    </ul>
   </div>
  )
 }
 export default App;
Following will be output of the above code:
on click of the emoji button you will get alert message which prints the id of the anchor element.
So this way you can work with JSX and click events in react app.




Comments
Post a Comment