Deploy .NET Core MVC Application on Azure Cloud
In this article I will be explaining about deploying .NET Core MVC Application on Azure Cloud step by step in detail.
There are following deployment stages involved
1) Signup in Azure 2) Creating a Resource Group 3) Creating a VM 4) Creating a Azure sql server Database 5) Publish your MVC Application 6) install IIS web server feature in VM 7) deploy your publish files in IIS
Lets discuss each steps in detail.
1) Signup in Azure
You can signup to azure using below link you will get 1 month free trial for using azure services.
https://azure.microsoft.com/en-us/free/
once you signup with azure, you are ready to do the next steps in the article.
2) Creating a Resource Group
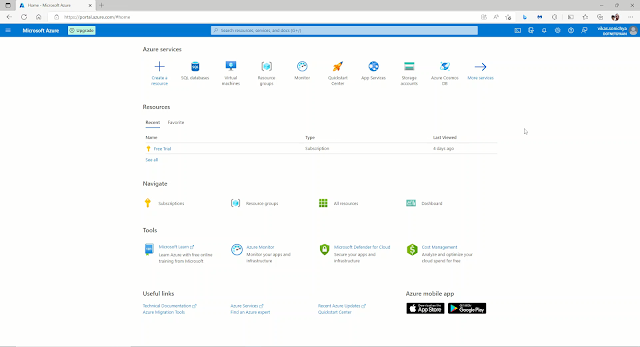
login to azure portal where you can get links to use various services and home page look like below figure.
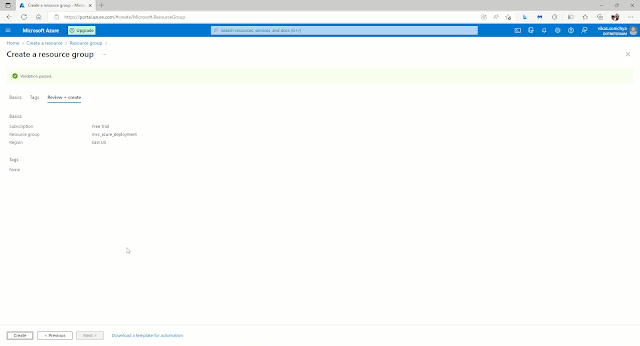
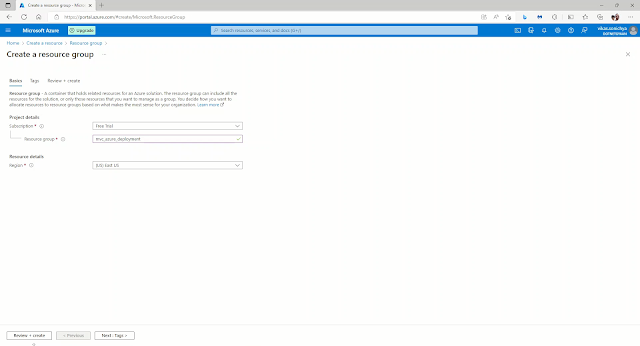
In above portal you can type "resource group" in search bar you can create the Resource Group. type the resource group name and select the desired region and click on review +create button. Then you can verify the details entered in next screen and then click on Create button as shown in below figure. that's it your resource group has been created.
3) Creating a VM
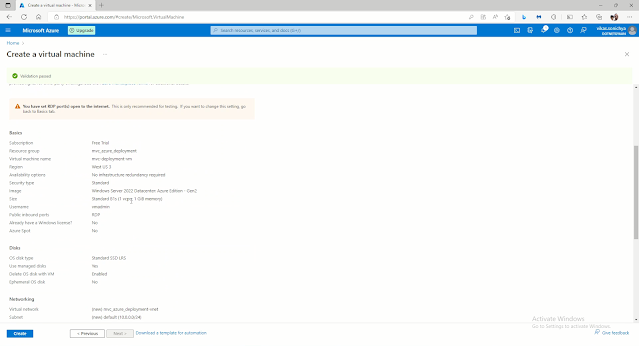
Now our resource group is ready lets create vm for app server. Now go to azure portal home page and just hover your mouse to virtual machines icon and you will get create virtual machine button, click on that then you will be redirected to virtual machine creation wizard.
- Select the resource group from drop down
- Enter virtual machine name
- select the desired region
- select the Availability options, select no infrastructure redundancy required if you are just creating for knowledge. If you are planning to deploy for production then i recommend that select the multiple availability zone so that your application will be highly available.
- Select security type to standard
- select image => i have selected windows server 2022 data center
- Select size(resource)=> select standard_B1s
- enter User name and password fields (this credentials will be used to login to vm via rdp session please take a note of it.)
- in Public inbound port select allow selected ports
- in select inbound port drop down select RDP (3389) option
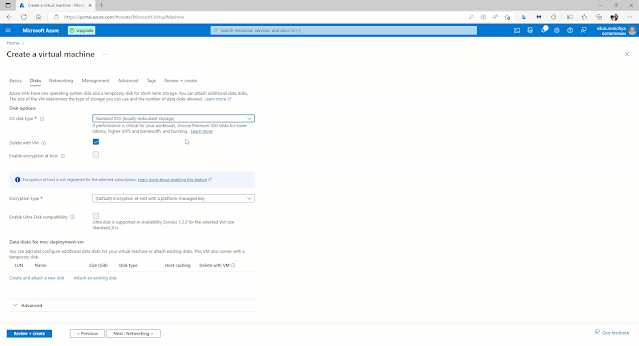
- now click on disks tab and select OS disk type to standard SSD option
- Then click on review + Create button you will get the all the information on the screen which you have entered in vm creation form.
- Click on create button and your VM will be created in few minutes.
4) Creating a Azure sql server Database
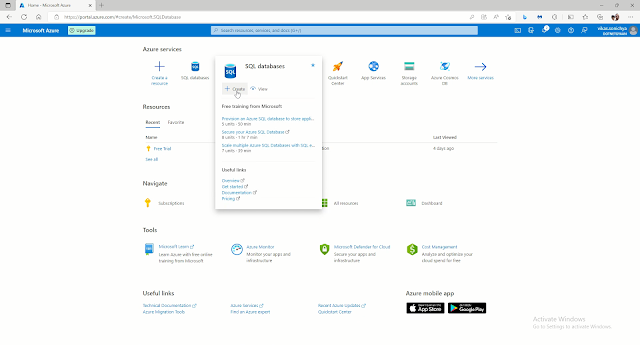
Now go to azure portal home page and just hover your mouse to Sql Databases icon and you will get create button, click on that then you will be redirected to Sql Database creation wizard.
- Select the Resource Group from the drop-down
- Enter Database Name in Database name textbox
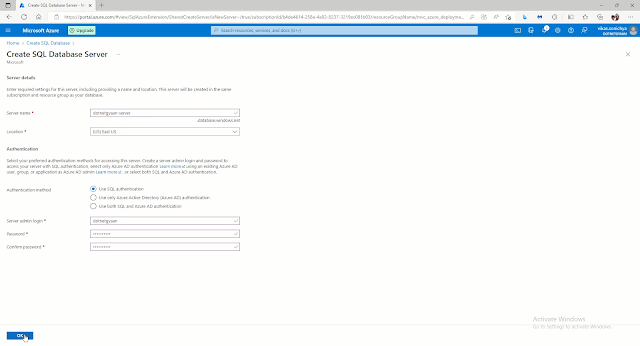
- Select the server from drop down, if you do not have server created then click on Create new link and enter the server details and save the details.
- Then click on Networking tab and select connectivity method to public endpoint
- in Firewall rule select yes to "Allow Azure services and resources to access to this server" option so that our application server can communicate with db server.
- Click on Review + create button and verify the details on next page
- Click on create button to create your sql database and server
- in Few minutes your Azure sql database will be ready for use.
5) Publish your MVC Application
Now we have created azure vm and azure sql database now its time to publish our MVC application
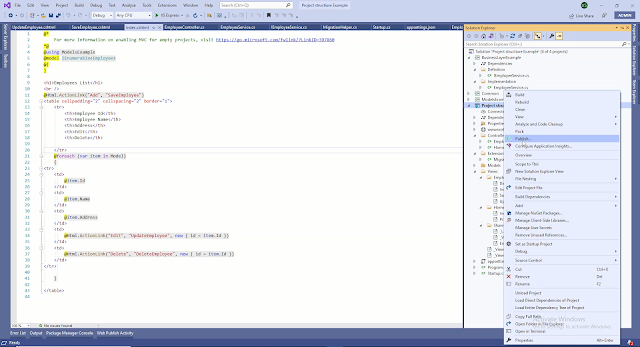
- Go to solution explorer in visual studio and right click on MVC project and ten click on publish option.
- Click on publish button in the publish wizard and your application will successfully gets published.
- Then go to publish directory and zip the publish file so that we can copy the same in our azure vm.
6) Install IIS web server feature in VM
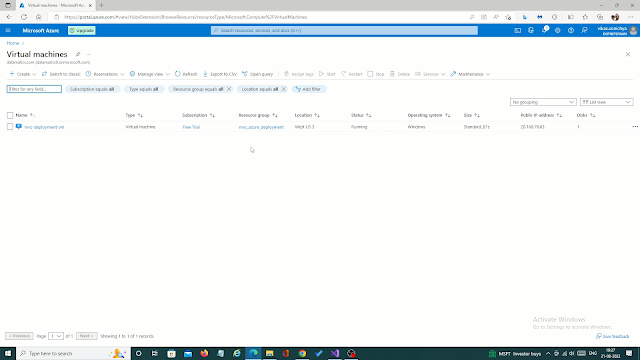
Now we need to access our vm using RDP session for that we need to have the public IP address of vm. you can get it by following the below step.
- Go to azure portal home page and click on Virtual Machine icon, you will be redirected to virtual machine list page.
- Click on your virtual machine link to get the details of virtual machine
- in your virtual machine page you will get the public IP address of your machine
Now you know about your public IP address, you can get the RDP session using IP address and credentials which you have entered during the virtual machine setup. Once you get the RDP session follow the below steps to install IIS in the vm.
- Now go to System Properties >> Advanced .>> Go to virtual machine section and click on Change button. Click on custom size radio button and enter initial size 5000 MB and maximum size 6000 MB and click on set button and save the changes.(optional- since i have very low ram)
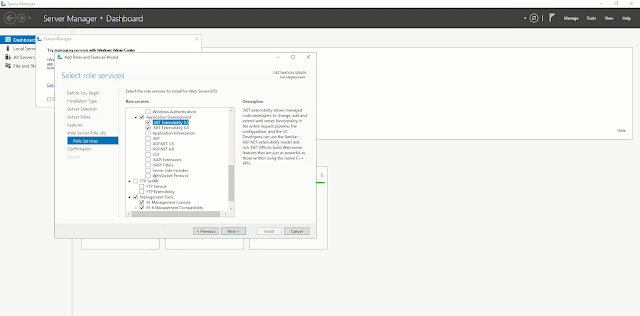
- Go to server manager and click on manage button on upper right corner then click on Add Roles and Features
- Click on next button until you reach to Select Server Roles section and check Web Server (IIS) option and click on next button.
- Once you are in Role Service section check below additional Role Services with default selected role services
- Check all option of Management Tools
- Check .Net extensibility 3.5 and .Net extensibility 4.8 from application development section
- Click on Next button until you get install button and click on install button this will install the IIS web server on your vm
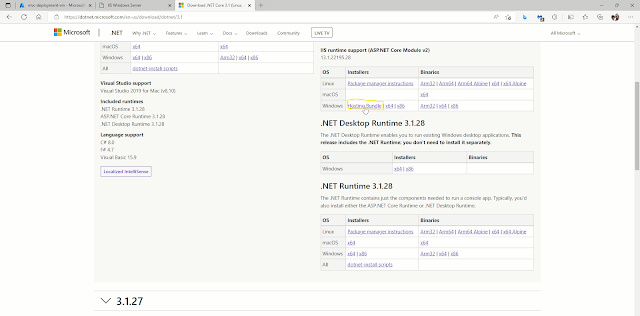
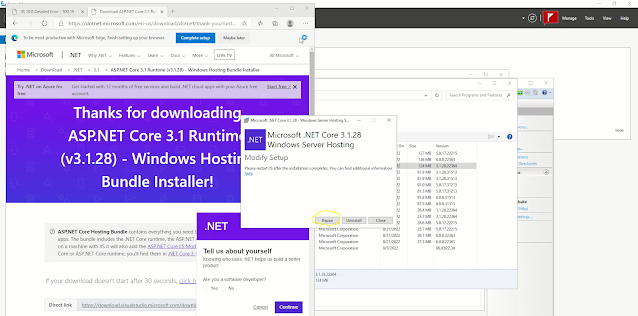
We have installed the IIS web server now we need to install the .net core 3.1.28 hosting bundle in vm so that the .net core MVC app can be run using it. you just googled it you will end up as per following screen and download the bundle and install. It might happen that the bundle is already installed then you just click on repair button once install-shield screen appears.
Now we need to open port 80 for HTTP request in azure portal.
for that go to Virtual machines>>click on your VM>> then go to networking option from left pane of the portal. then click on Add Inbound port Rule button and add rule for port 80 as per below figure.
7) deploy your publish files in IIS
Just copy the published file zip file to vm for deploying application on IIS and extract to C:\inetpub
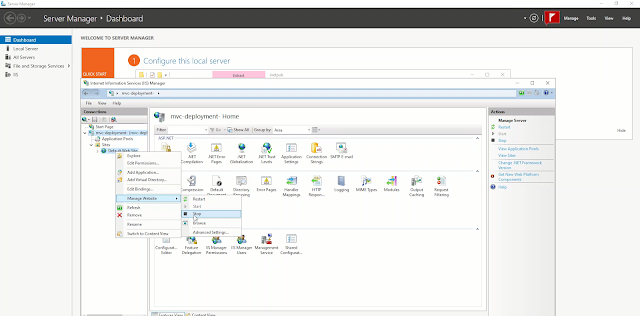
- Open the Internet Information service manager and stop the default web site
- Now right click on Sites and click on Add Website button
- Provide Site name and physical path and click on Ok button
- Now we need to have connection string of azure db, for that follow the below steps
- Go to azure portal home page.
- Click on Sql databases.
- Click on your created databases
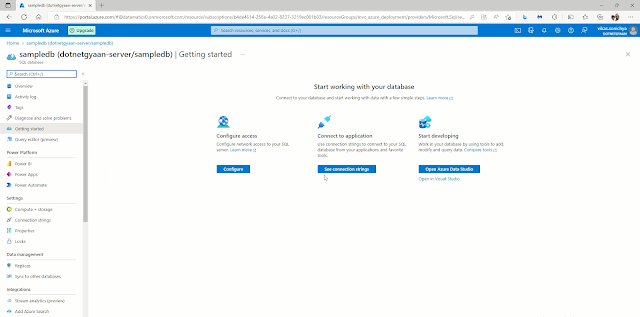
- Click on See connection string button
- copy the connection string appears on the next page (Note: connection string does not contain the password, you need to update it manually)
- now go to published application and update the connection string and then save the file.
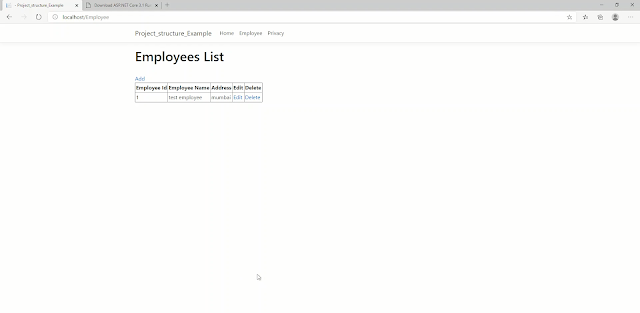
- now browse the application by hitting localhost in browser, your application should load
- you can try hitting application by public IP it should work as well.
That's it , so these are the simple steps which can be helpful for deploying .net core MVC application on Azure Cloud.















Comments
Post a Comment